In this video and podcast episode, I’m going to share with you a little-known secret–how to create drag and drop activities with Google Slides.
My favorite G Suite tool is Google Slides, not because it is an easy-to-use presentation tool, but because it does so much more than 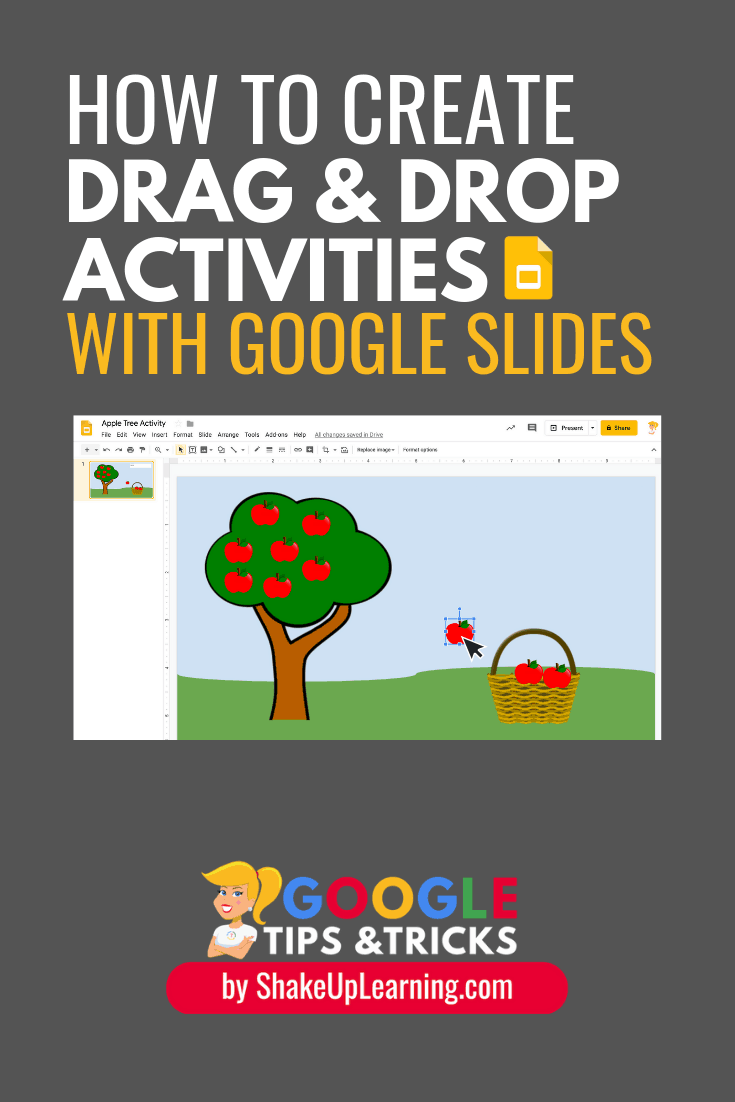
I frequently refer to Google Slides as the Swiss Army Knife of G Suite. It really is the most flexible tool in the entire suite.
Over the years, I have used Slides to create eBooks, cheat sheets, images, infographics, and drag and drop activities for students like Magnetic Poetry.
There are many ways for teachers to use this idea to create learning experiences for students.
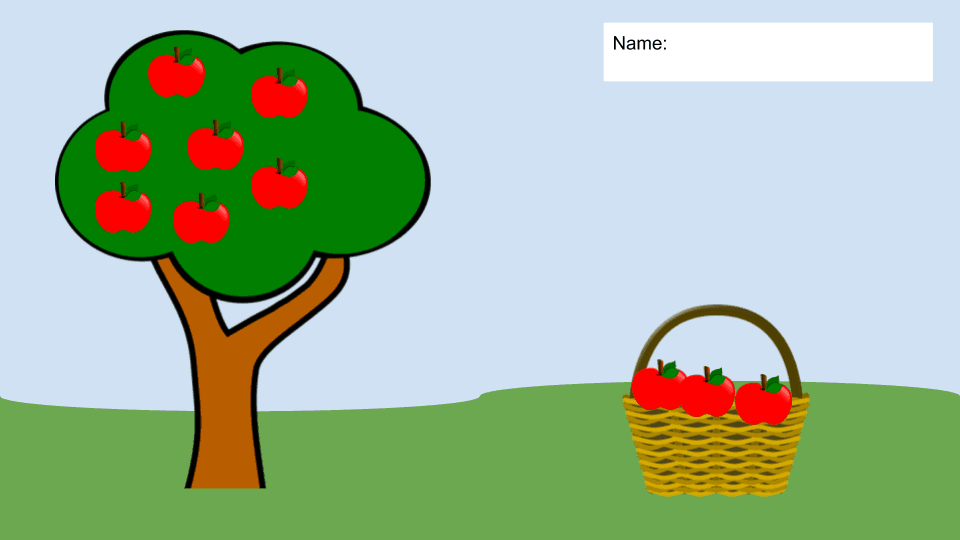
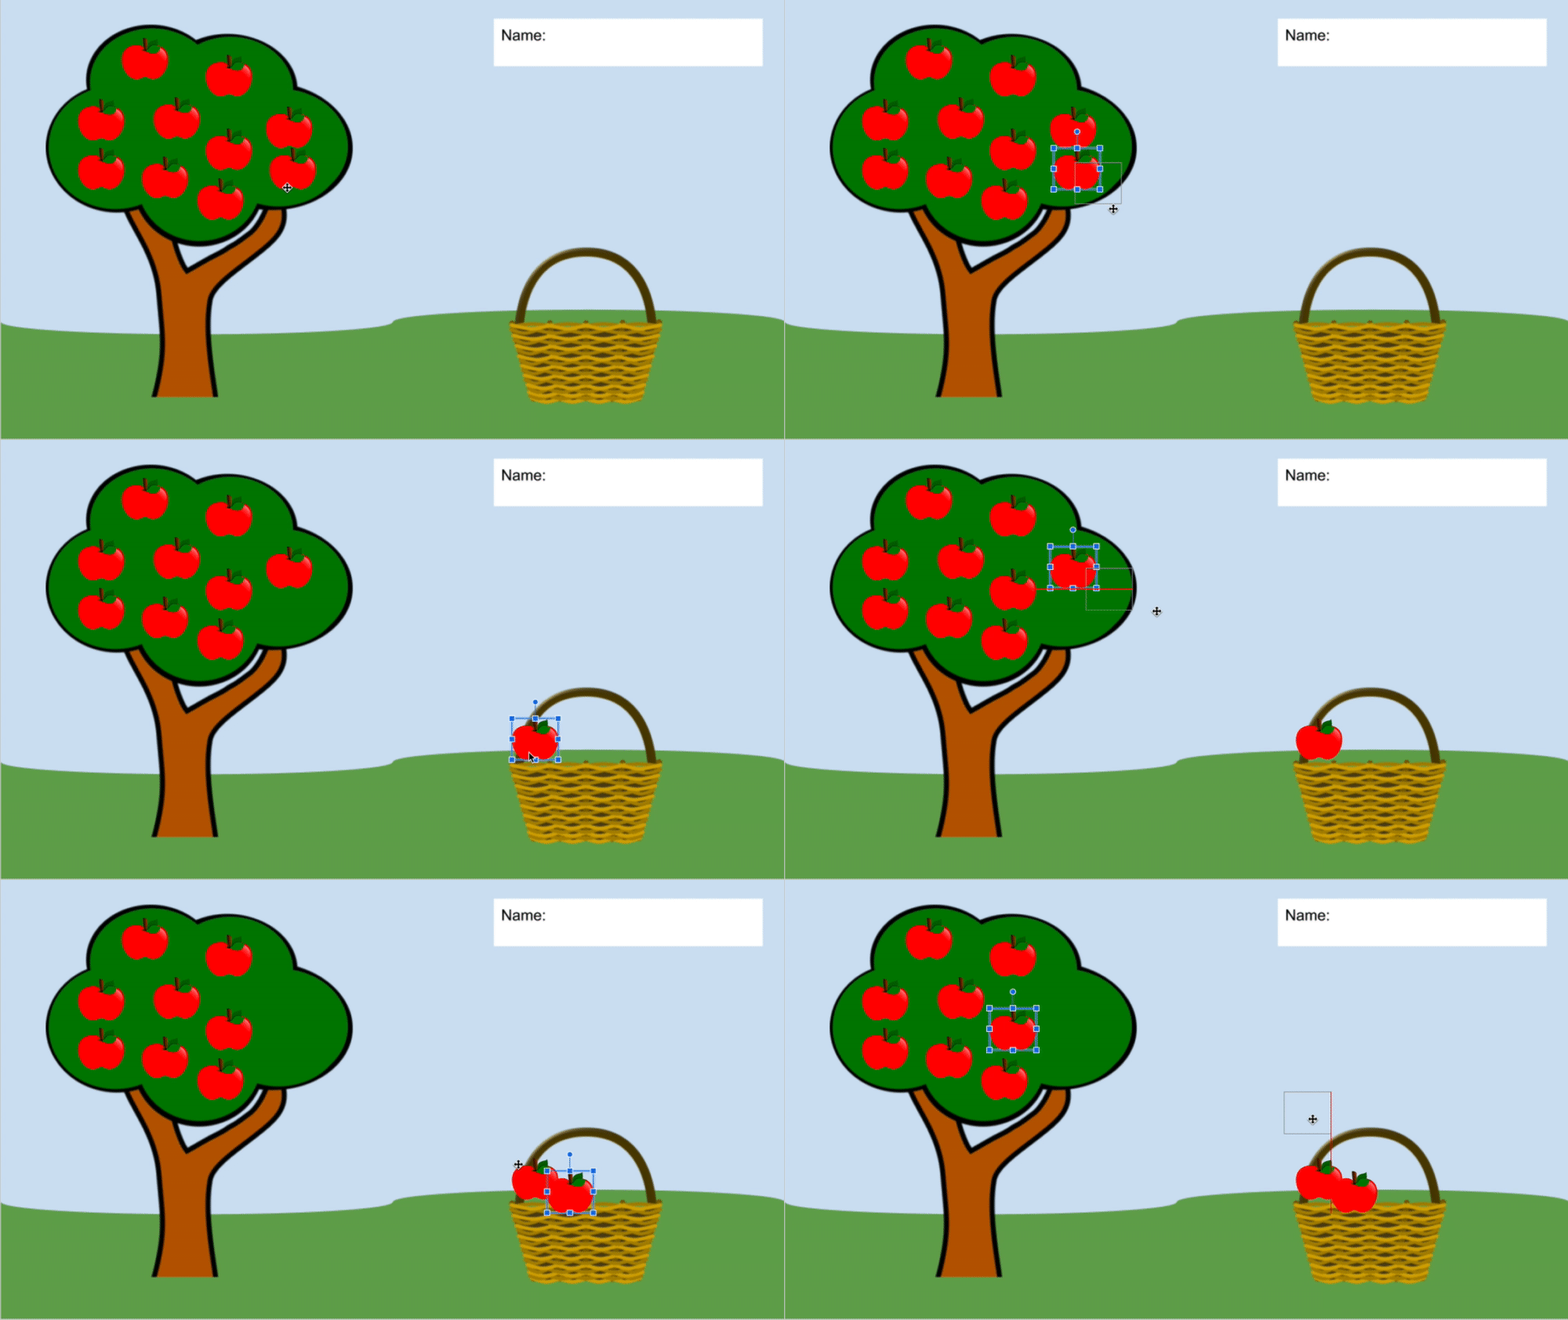
- The littles can practice counting by moving apples from an apple tree into a basket, as shown in the example tutorial below.
- Label the parts of a frog in science.
- Creative writing with a limited word bank.
- Manipulate shapes and graphs in math.
- Lable a numberline or timeline with a word bank.
- Use a graphic organizer to analyze and organize information.
Don’t spend a bundle on TPT when you can create your own!
These simple tips will help you see the possibilities of Google Slides and how you can create interactive lessons for your students.
How to Create Drag and Drop Activities with Google Slides
You can listen to the audio podcast version of this tutorial or watch the YouTube video.
If you are an experienced Google Slides user, play the podcast version below or in your favorite podcast app.
If you need more hands-on guidance, watch the screencast video tutorial below.
Be sure you are subscribed to the Shake Up Learning Channel, so you don’t miss any new videos!
The key to making drag and drop assignments is creating a background template that cannot be moved. Then add the other elements that students will click and drag around on the canvas. These elements can be images, a word bank for labeling or organizing, graphic representations of just about anything.
In the tutorial, I will show you how to create a very simple example to help you understand the features. You can create activities for any grade level, including more advanced activities than the primary example below.
 This episode is sponsored by WriQ.
WriQ gives a 360-degree overview of every aspect of student writing so teachers can provide meaningful and accurate feedback to each student.
WriQ, the latest innovation from Texthelp, grades papers digitally in Google docs – saving you time for other precious instructional activities.
WriQ is establishing a new revolution for writing assessment, so join a growing community of teachers and try WriQ today.
Visit: text.help/shakeupwriting
Steps for Creating Drag and Drop Activities with Google Slides
Note: Creating drag and drop activities with Google Slides can be very simple or very intricate. Depending on what you want to create, these steps could vary.
STEP 1: Plan Your Activity and Align to Your Learning Goals
There are a million ways to use this functionality in your classroom. Before you get too excited and create a super cute background with your favorite bitmoji, take a moment to think about an activity that aligns to your learning goals.
This activity will most likely involve students moving objects, shapes, images, or even images of words into certain areas of a background. That background can be anything you want! My advice is to start simple so you understand the possibilities and improve your skills as you go.
Most importantly, choose an activity that is going to help students reach the learning goal(s) for your classroom. Dig deep into your curriculum to make this meaningful and not just using tech for tech’s sake!
STEP 2: Create Your Background Image on a New Blank Slide
To keep things simple, we are going to create in Google Slides but it is worth mentioning that you could also create in Google Drawings. (These tools are very similar!)
Open a new Google Slide deck. (Tip: go to https://slides.new to open a new slide deck.)
The first thing we want to create is the background of the activity. This part will be locked and not moveable for students.
Start with the background color if you want something other than white.
To change the background: right-click (or control-click) on the slide, then click on “Change Background.”
Insert the other images and objects that you want in the background of your activity. (Tip: Search for images inside of Slides (File>Insert>Image>Search the Web) to find images that are filtered for commercial use with modification.)
Layer all of the elements you want on your background. Keep in mind the background will remain stationary or “locked” in the activity. We are not adding the moving parts yet.
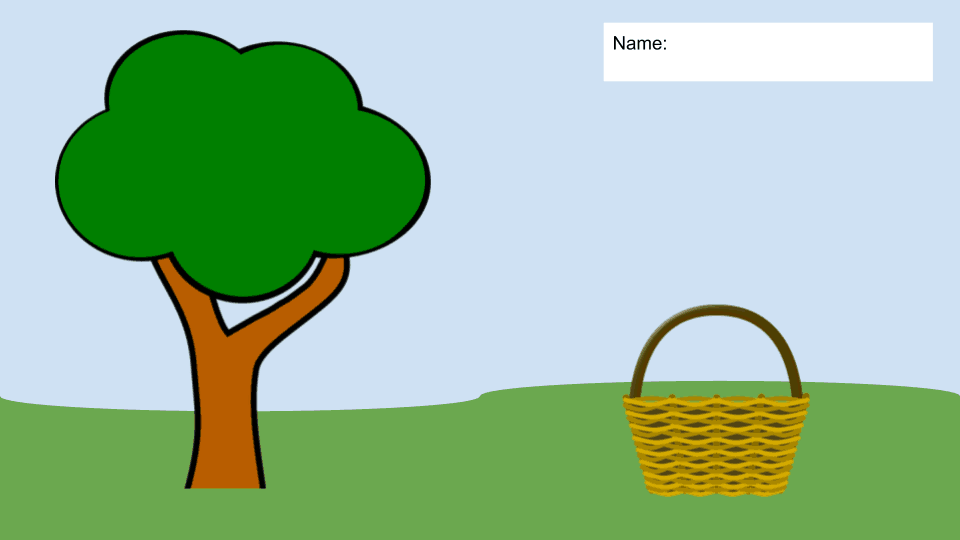
In the example below, I added a sky blue background, green grass as a shape, a text box for the student’s name, and an image of a tree and basket.
Once you have your background elements in place, go to File>Download and download as a .PNG file (recommended for clipart style), or .JPG file (recommended for photography).
STEP 3: Create Your Activity Template
Create a new Google Slide deck.
Add a blank slide and upload the image your created as the background so it is “locked,” and students cannot move it around. (Right-click (or control-click) on the slide, then click on “Change Background,” then choose the image you just downloaded.)
Add the elements and objects that you want students to drag and drop, or move around to different areas on your background.
Note: If you want to create a type of word bank or answer choices that students cannot edit, you will need to create these as images in Google Slides or Drawings. You can learn how to do this in my FREE online course.
Below I added the apples and an empty text box over the name box.
Want to try it? Make a copy of my template to see how it works or use the template link. (Please do NOT request access.)
STEP 4: Assign to Students in Google Classroom
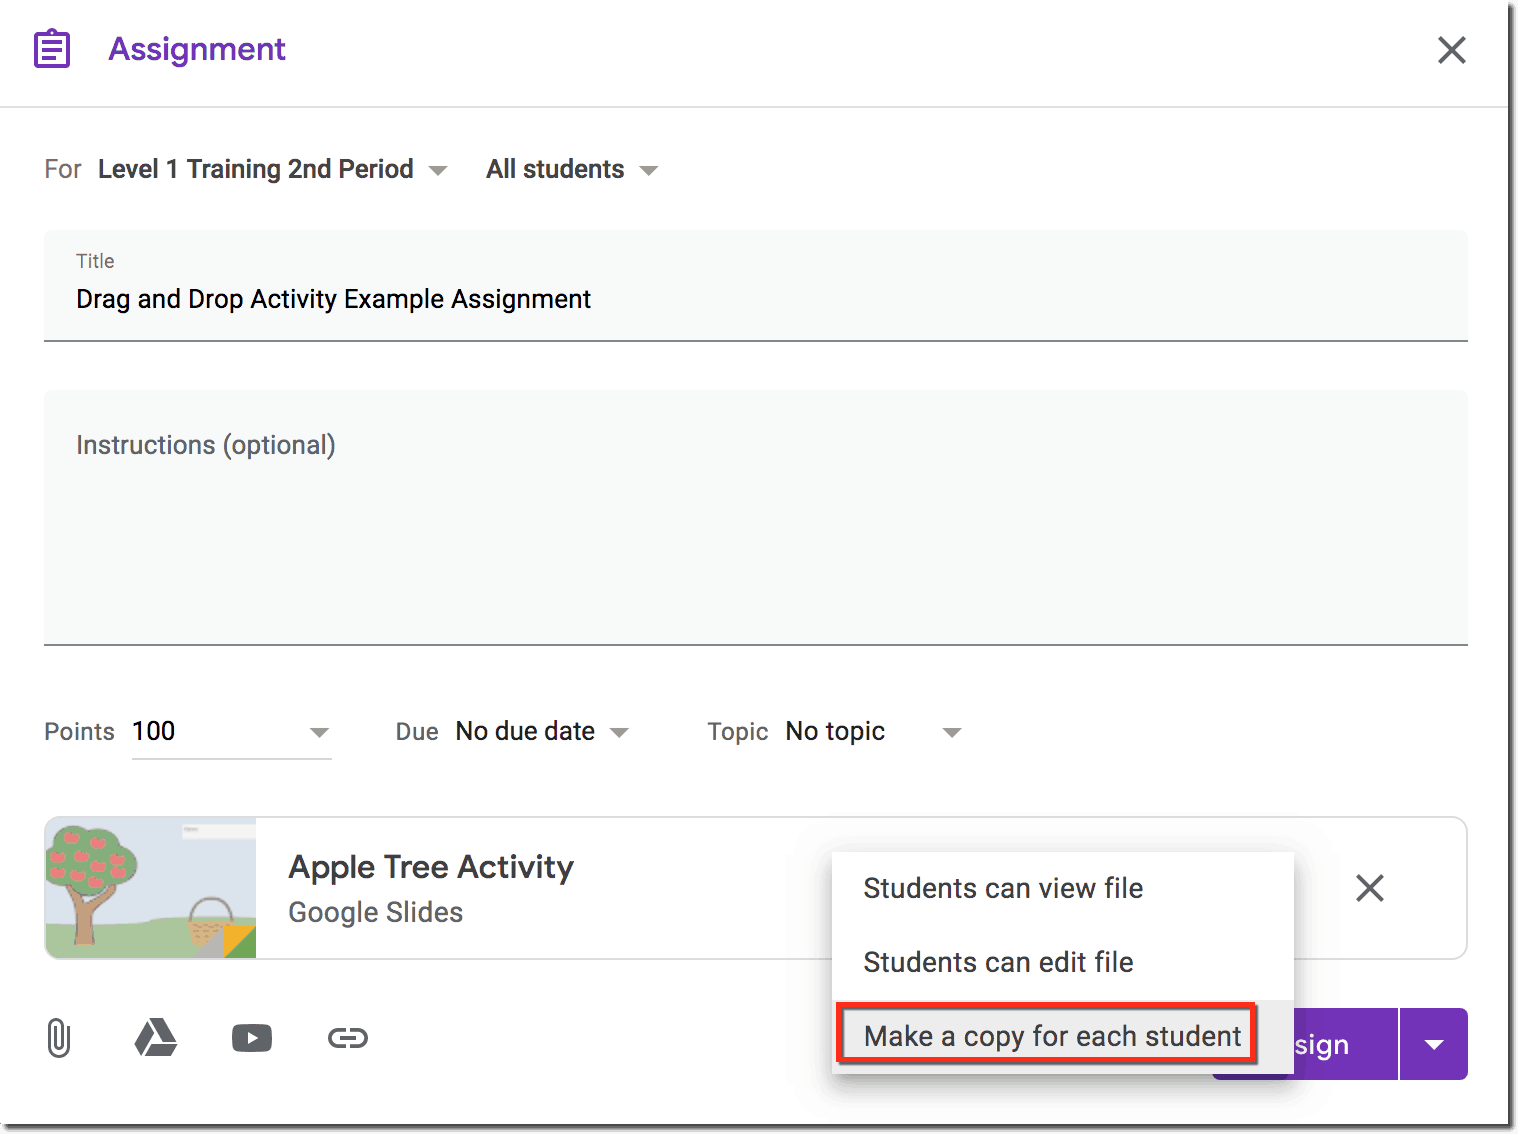
If you are using Google Classroom, you can use the option to “Make a Copy for Each Student,” to create individual files for each student.
New to Google Classroom? Check out these must-have Google Classroom skills!
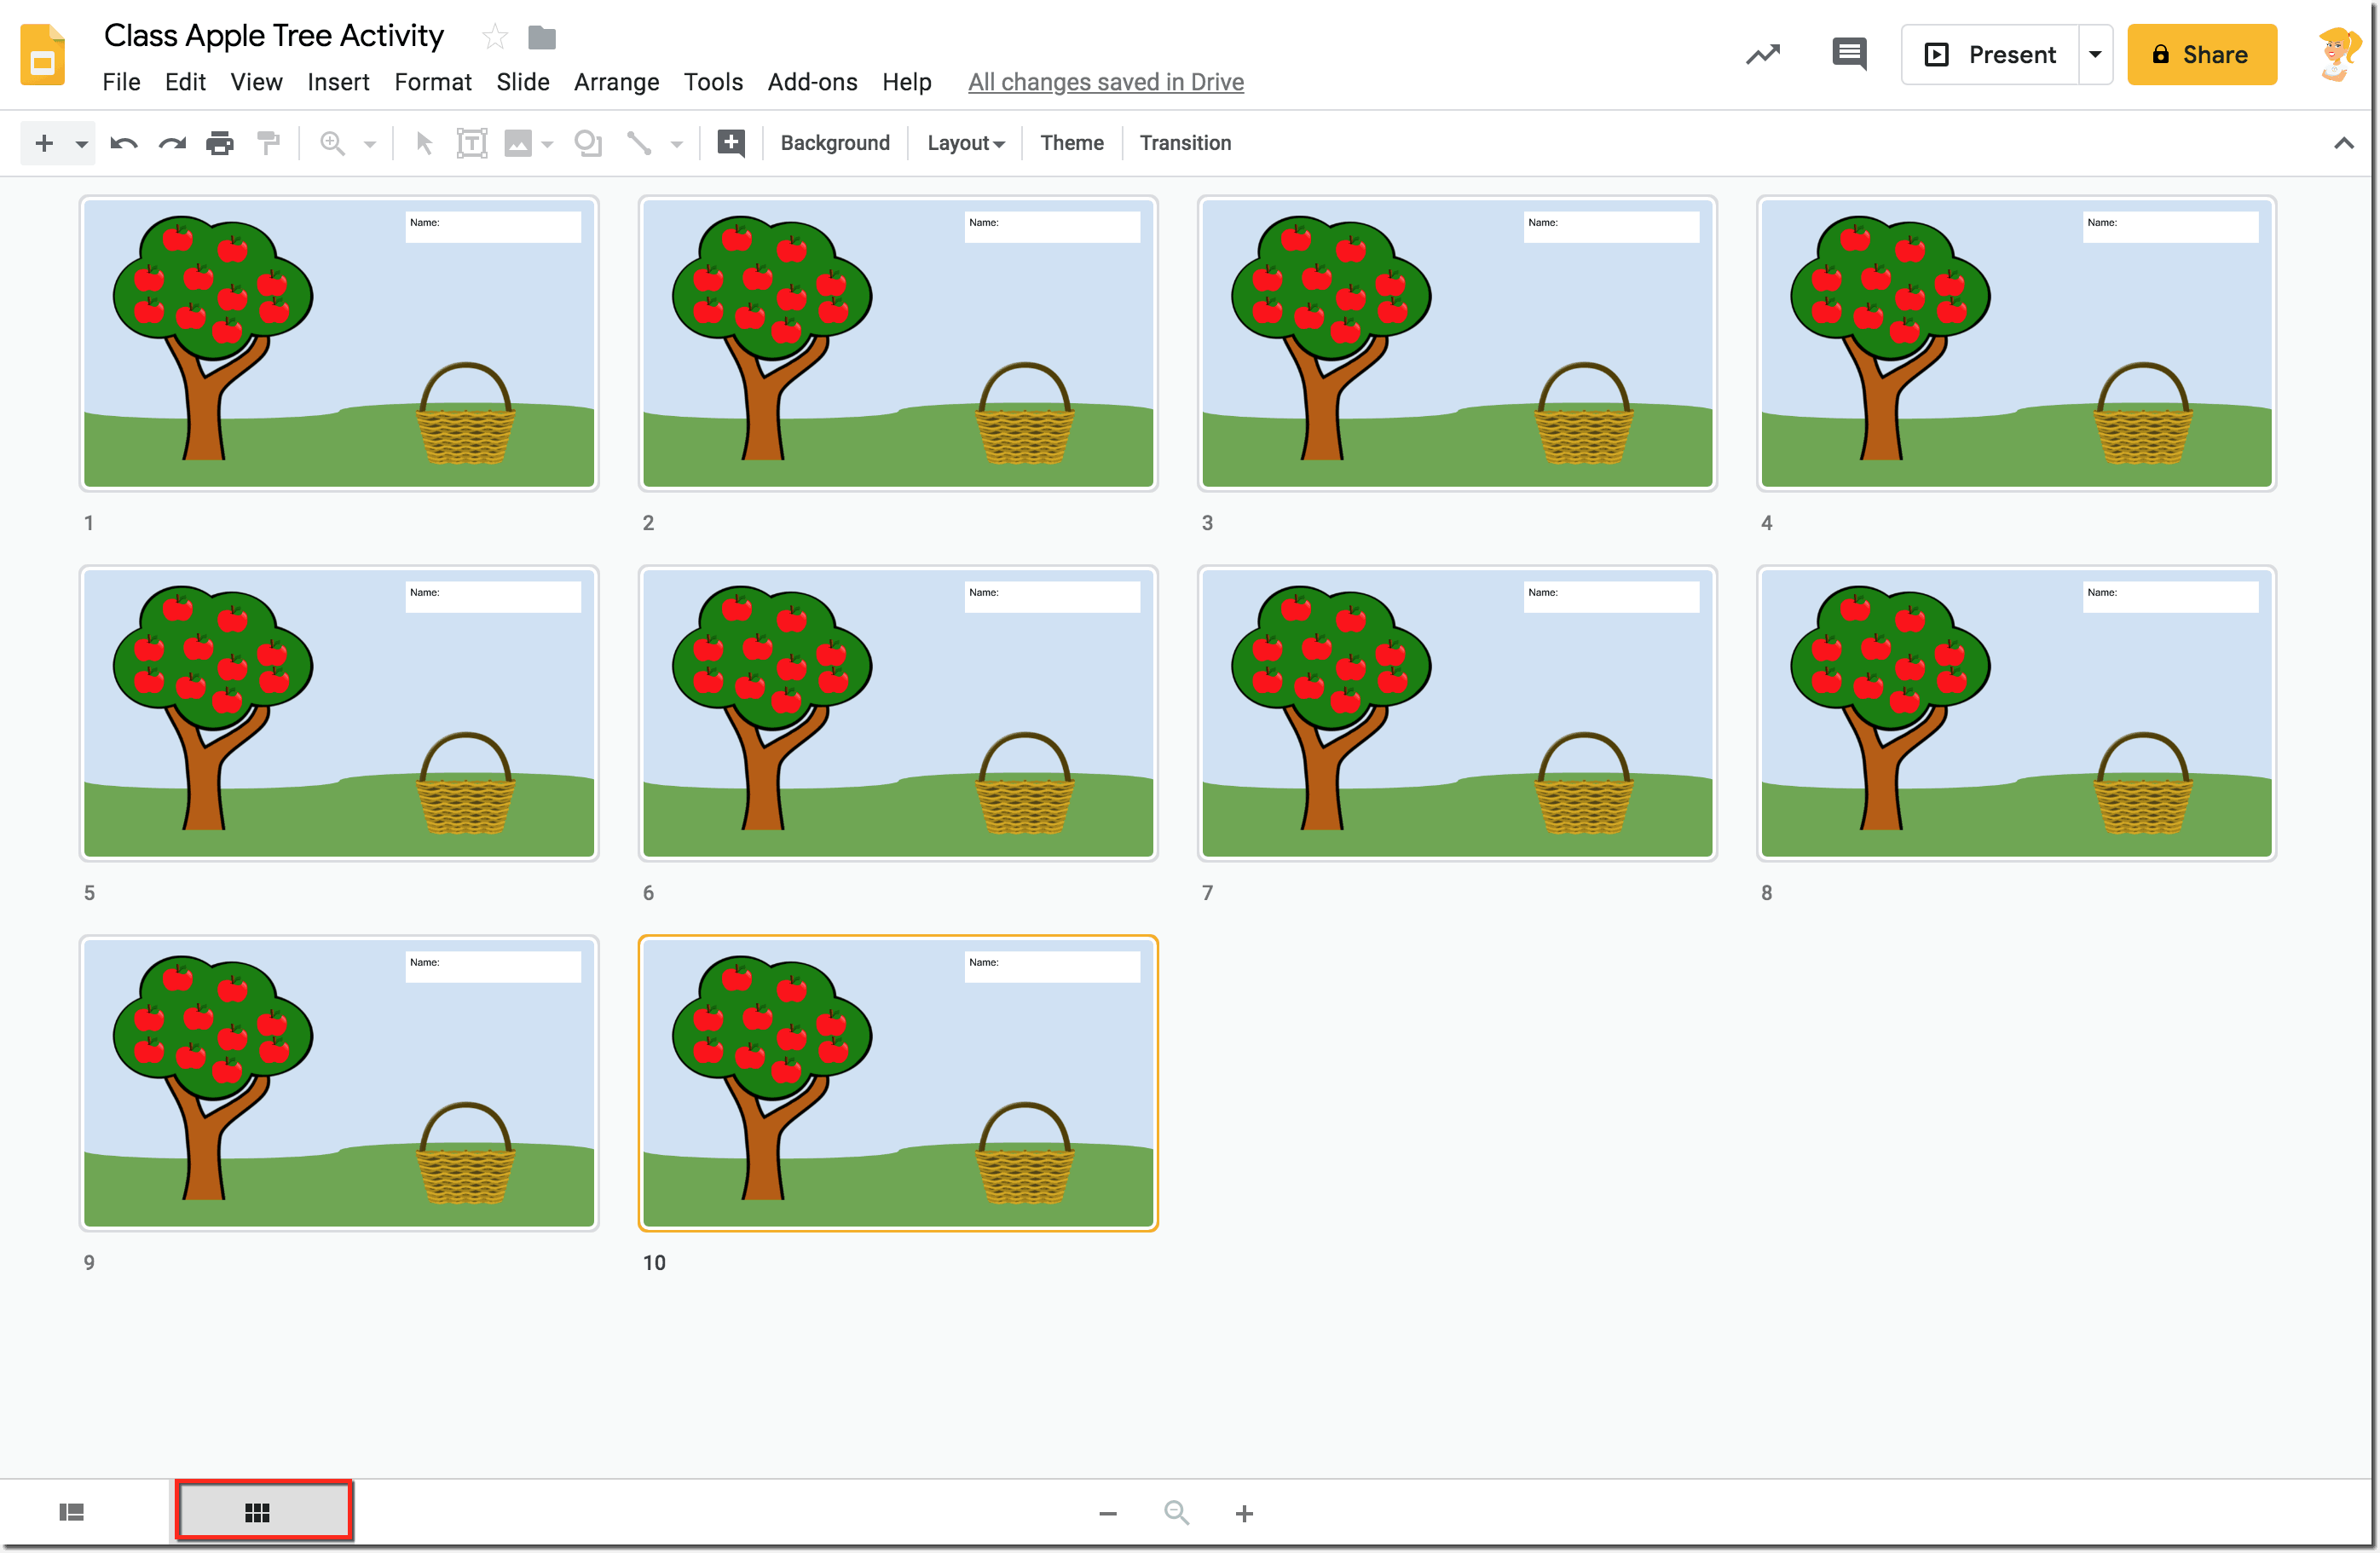
Or, you can use one collaborative slide deck and duplicate the slide template for each student in your classroom. This is a great way to see all of your students work in one location. And this allows students to comment on each others work or work collaboratively, depending on the type of assignment.
Related: How to Go Fullscreen with Interactive Google Slides
Podcast Question of the Week
“How can you use the interactive features of Google Slides to engage your students in new ways? What will you create? What will your students create?”
Post your answers in the Shake Up Learning community or on your favorite social platform.
Access all of the podcast questions of the week here.
Learn More About Google Slides!
Join the Google SLIDES Master Class Online Course
I frequently refer to Google Slides as the Swiss Army Knife of the G Suite tools because it is capable of being so much more than a presentation tool. In this course, you will learn how to use Slides in new and unexpected ways in your classroom that will engage your students and make learning more dynamic!
K-12 teachers are going to LOVE THIS COURSE!
This class is perfect for beginner to intermediate users to take their skills to the next level and become a Google Slides Master!
(Prerequisite: basic knowledge of slides, how to access and create new slides.)
Click here to learn more and to ENROLL TODAY!
Learn All About the Course
What’s Included?
- Self-paced
- Video-based lessons
- 3 BONUS Lessons!!!
- Bonus 1: Stop-Motion Animation
- Bonus 2: How to Create Magnetic Poetry with Slides and Drawings
- Bonus 3: 50 Google Slides Lesson and Project Ideas
- Supporting Resources
- Best Practices and Tips
- 6 hours of professional learning credit
- Purchase orders are accepted (Just email Kasey[at]ShakeUpLearning.com (replace [at] with @.)
- Bulk license discounts
- Get your whole team, campus, or district on board
Click here to learn more and to ENROLL TODAY!
Check out all of my Google Slides Resources here!
Questions & Comments
Do you have a question you would like me to answer on the show? I’d love to hear from you!
I also love to hear from students!
Leave me a voicemail and your message could be played on the podcast!
Do You Want to Be on the Podcast?
To learn more about our process for selecting guests, please visit our show page here.
Apply for an on-air coaching episode here.
Sponsorship and Other Inquiries
If you have other questions or inquiries about the podcast, please use this contact form.
© Shake Up Learning 2023. Unauthorized use and/or duplication of this material without express and written permission from this blog’s author and/or owner is strictly prohibited. Excerpts and links may be used, provided that full and clear credit is given to Kasey Bell and Shake Up Learning with appropriate and specific direction to the original content on ShakeUpLearning.com. See: Copyright Policy.
 This episode is sponsored by WriQ.