In this episode, I’m sharing my brand new framework for designing meaningful choice boards for the K-12 classroom.
I will walk you step-by-step through the process to ensure it aligns with your standards and learning outcomes, how to select the choice board style, and share important tips along the way.
Choice boards are a game changer!
Learn how you can implement this strategy, differentiate for your students, and empower them with voice and choice!
Listen to this article.
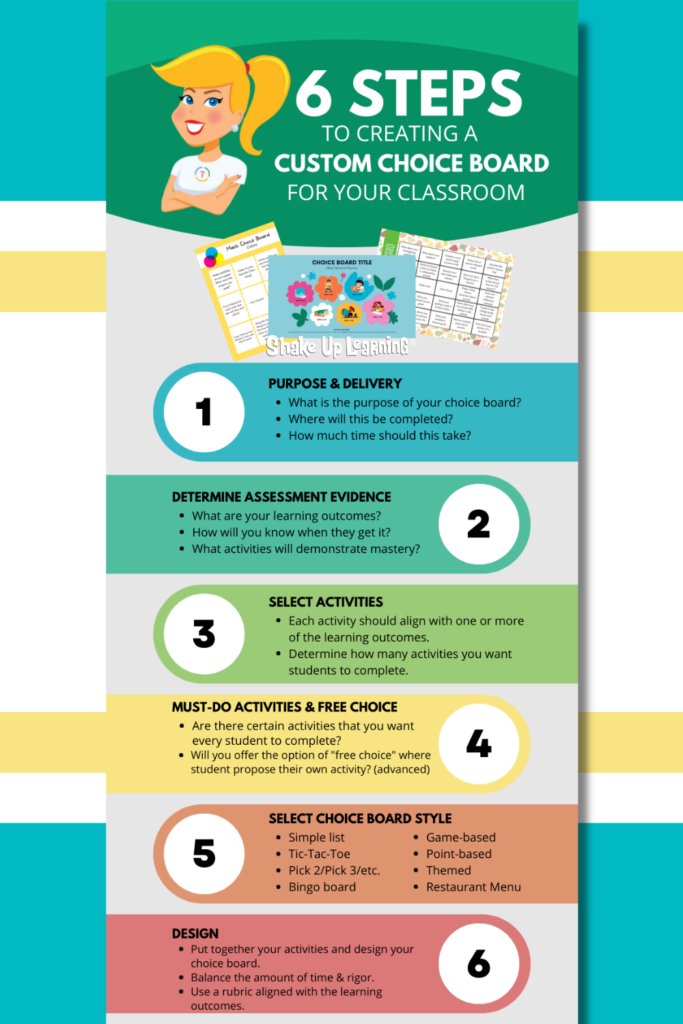
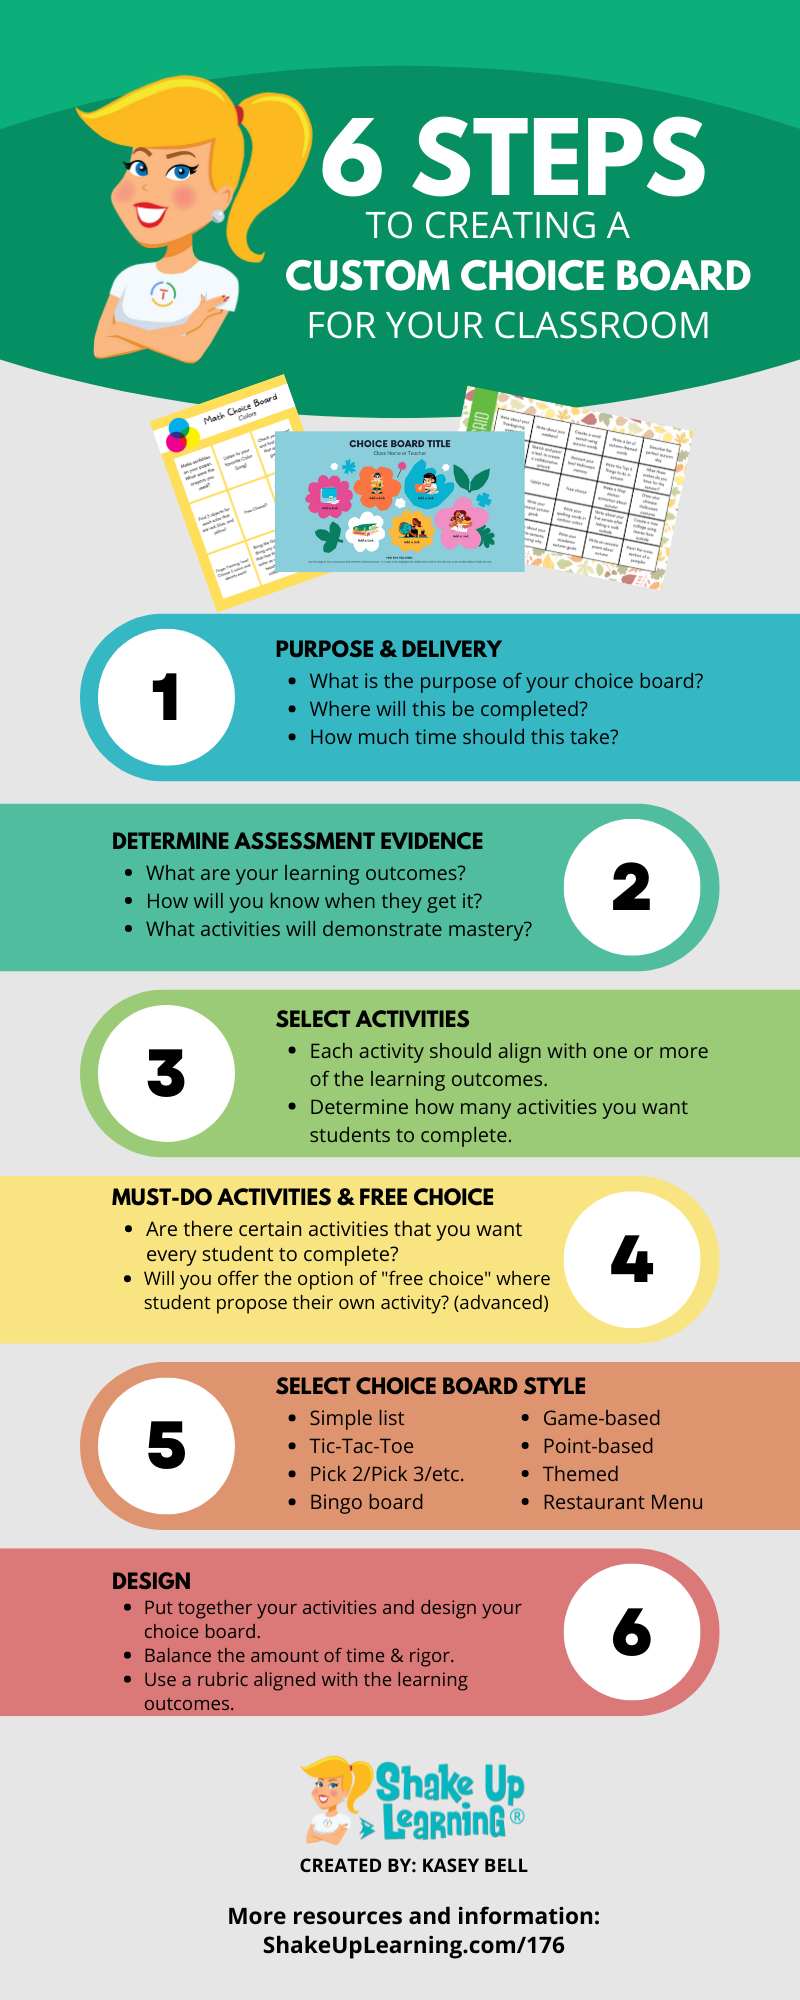
6 Steps to Creating Custom Choice Boards
This 6 step process is something that has been brewing in my mind over the last several years, and it is definitely still a work in progress. But I wanted to share it with you to help more teachers learn how to create their own custom choice boards.
Choice boards can be intimidating to create from scratch, but they can be so powerful for the classroom.
I also created this handy infographic with the six steps. You can download the PDF here.
I couldn’t fit every detail in the graphic, so be sure to get all the details below.
What is a Choice Board?
IT’S ALL ABOUT CHOICE!
Choice boards (aka learning menus) are a form of differentiated learning that give students a menu or choice of learning activities.
- Choice boards can be created in a variety of styles and mediums.
- They’ve been around for a long time and originated in a static, paper format.
- With digital tools, we can bring the menus to life with interactivity and creation.
- Choice boards are mostly asynchronous! (Learn more about asynchronous learning here.)
- Every student doesn’t have to do the exact same thing at the exact same time!
- Choice boards offer a flexible learning path and help us differentiate.
- Use in ANY grade level or subject area!
- And, they give students voice and choice in their learning!
“…at its core, differentiated instruction means addressing ways in which students vary as learners.”– Carol Ann Tomlinson
Related: The Teacher’s Guide to Choice Boards
Step 1: Purpose & Delivery
When you are designing a choice board, you should ask yourself:
- What is the purpose of your choice board?
- Build background knowledge/access prior knowledge
- Check for understanding/formative assessment
- Summative assessment
- Enrichment
- Other
- Where will this be completed?
- In class
- At stations
- In class and homework
- Homework
- Online
- Will these activities be completed independently or collaboratively?
- How much time should this take?
- In-class time?
- Outside of class time?
- 20/30/45/60 minutes
- 1 Day
- 1 Week
- 6 or 9 Weeks
- Semester-long
Step 2: Determine Assessment Evidence
Begin with the end in mind!
Back in episode 10, I did some on-air coaching with Carly Black. Through the coaching process, Carly determined that the choice board she used with her students didn’t assess what she needed to assess.
You always want to ensure that you know the purpose of your choice board and how students can demonstrate mastery.
- Start with your standards and learning outcomes–what do students need to learn and be able to do?
- How will you know when they get it?
- What activities will demonstrate mastery?
Recommended: Use a rubric aligned with the learning outcomes.
- Rubrics can aid with grading, but the purpose is for the student to understand how they will be assessed, not for the teacher to simplify grading (that’s a bonus!)
Try writing this out in a table:
Learning Outcome |
How will you know when they get it? |
What activities demonstrate mastery? |
Determine the theme or central idea |
Correctly identify the story’s theme and can communicate this idea. |
|
Construct a summary free of personal opinion |
Summarize the appropriate text in a concise manner that conveys important events from the story. |
|
Step 3: Select Activities
After you have brainstormed activities that align with your learning outcomes, select the best ones for your choice board.
- Each activity should align with one or more of the learning outcomes. You can have several activities aligned with one outcome or separate activities for different outcomes.
- Will these be digital activities, hands-on, paper-based, or a combination?
- Determine how many activities you want students to complete. (If less than three, you may not need a choice board.)
- Some activities can be just consuming content–watching a video, reading an article, etc.
- Do these activities need further differentiation for skill level, learning style, depth of knowledge, or accommodations?
Continue to make revisions and adjustments to your activity list.
Related: Back to School with Choice Boards (FREE Templates)
Step 4: Must-Do Activities & Free Choice
I’m a fan of the must-do, non-negotiable activity. Usually, there is one thing you want ALL students to do–read this article, watch this video, etc.
This can also come in handy for beginners who don’t want to overwhelm with too many choices.
- You can add must-do activities to a choice board so that they must be completed alongside other choices. This could also include a teacher-led lesson, a mini-lesson with a small group, a station, or collaboration.
- Alternatively, you can choose to offer free choice where students propose their own activity. (advanced, not for beginners)
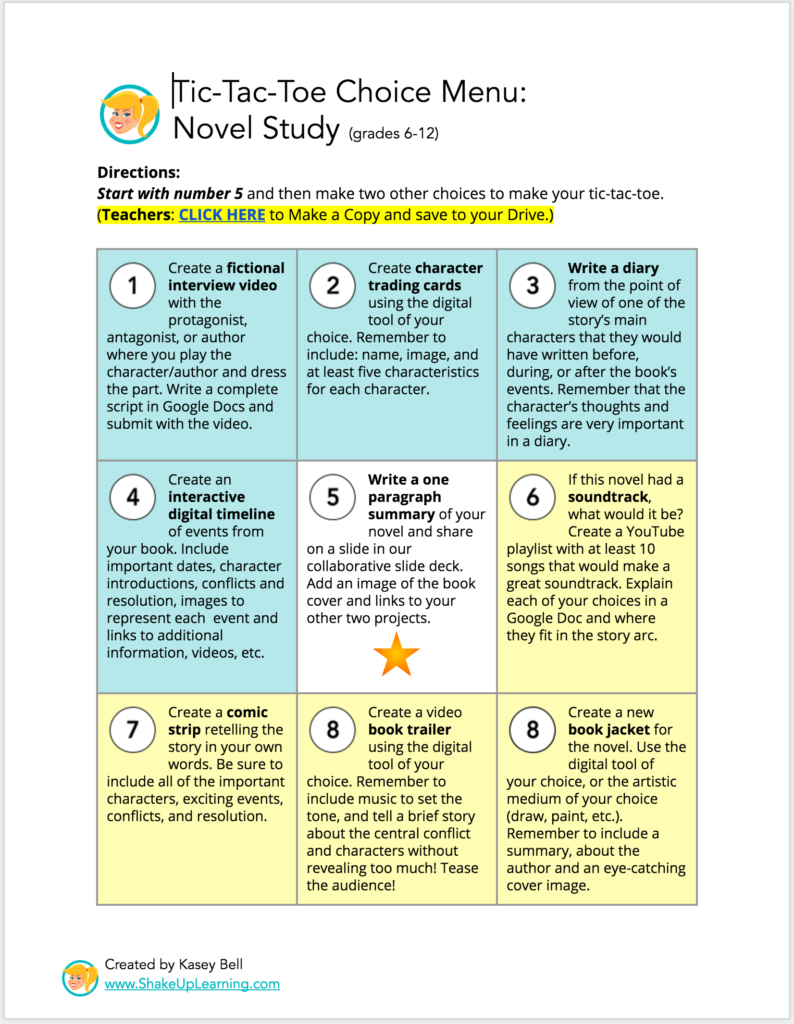
I always use the middle square in my Tic-Tac-Toe Choice Board as the must-do activity. They start there, and then that also gives me more control over how they make their two choices.
Learn more about my instructional design with Tic-Tac-Toe Choice Boards: Interactive Choice Boards with Google (FREE Templates)
Step 5: Select Choice Board Style
Choice boards can look like anything your little heart can imagine. The possibilities are limitless. However, there are some standard styles that can you can use when creating your custom choice board.
Now that you know how many activities you want in your board, select the style that fits best (or create a new one)!
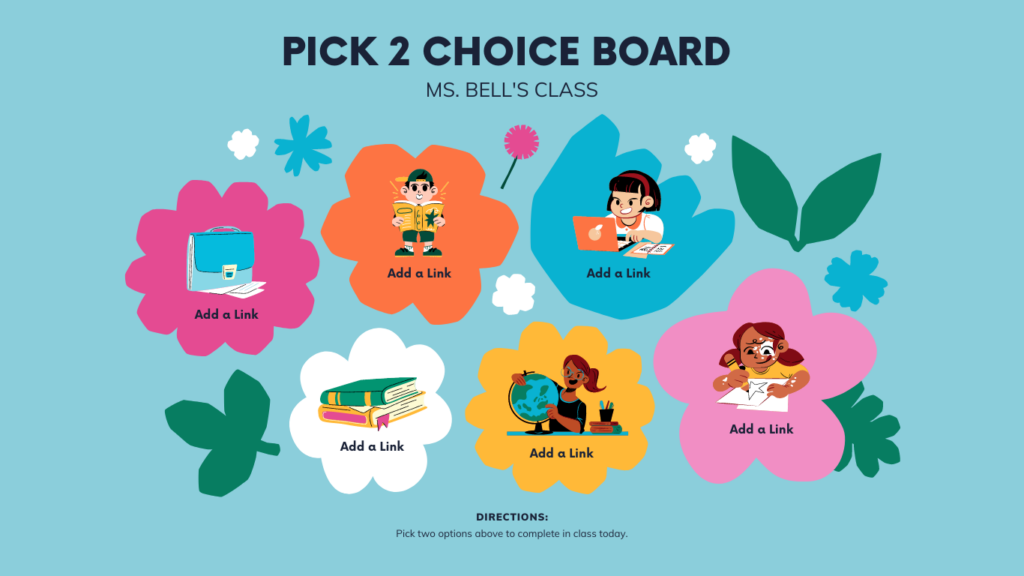
Pick 2/Pick 3/Pick 4 etc.
This one can take many forms, a list, a table grid, or anything that shows students all their options. Then students are directed to select however many activities–pick 2, pick 3, pick 4, etc.
Simple List
Nothing fancy about this one. Remember, choice boards can be a list written on the board. Of course, this can also be a digital list posted somewhere online.
Related: Empower Your Students with The 4 Cs Learning Menu
Point-Based
Many of the lists can also be point-based. The idea is that students select their activities and add up the total points possible.

credit: Laurie Westphal
Tic-Tac-Toe (seen above)
The Tic-Tac-Toe choice board is my all-time fave! And I have shared several different templates for this one over the years. It’s easy. It’s flexible and can be well-balanced.
Related: FREE Interactive Tic-Tac-Toe Choice Board Template in Google Slides
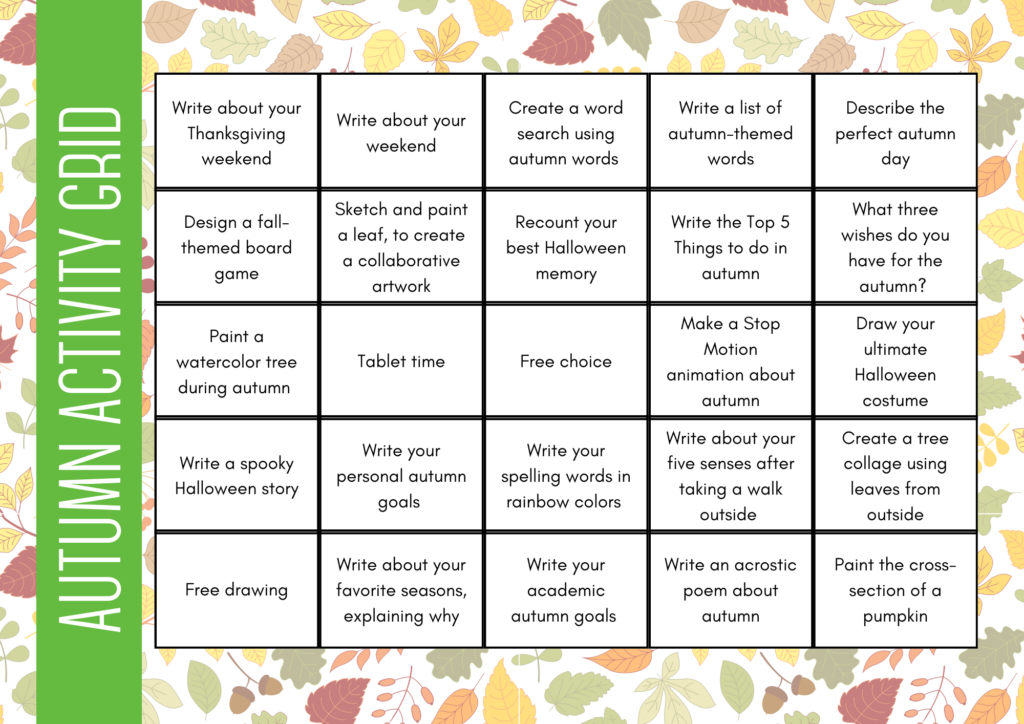
Bingo Board
This is another grid format but with many more squares than tic-tac-toe. This style is great for short activities and experienced choice board students.
Bingo boards work well for early finishers and enrichment activities.
They can be too overwhelming for some students because they have so many choices.
(You don’t actually have to label and use it as BINGO, that’s just a general term I’m using.)
The template above is from Canva. You can access it here.
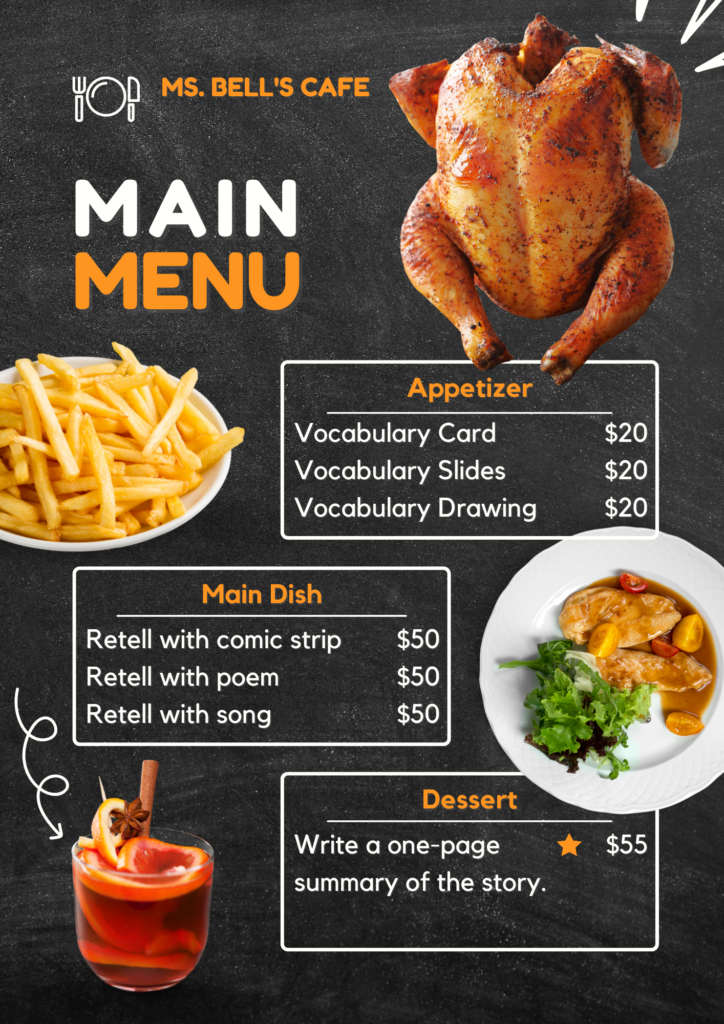
Restaurant Menu
This is a really fun option. Divide up your activities into the different categories of a menu–appetizers, entrees, sides, and dessert. (Tip: I like to make dessert my non-negotiable and it must be done last!)
I used a Canva menu template to mock up the menu below.
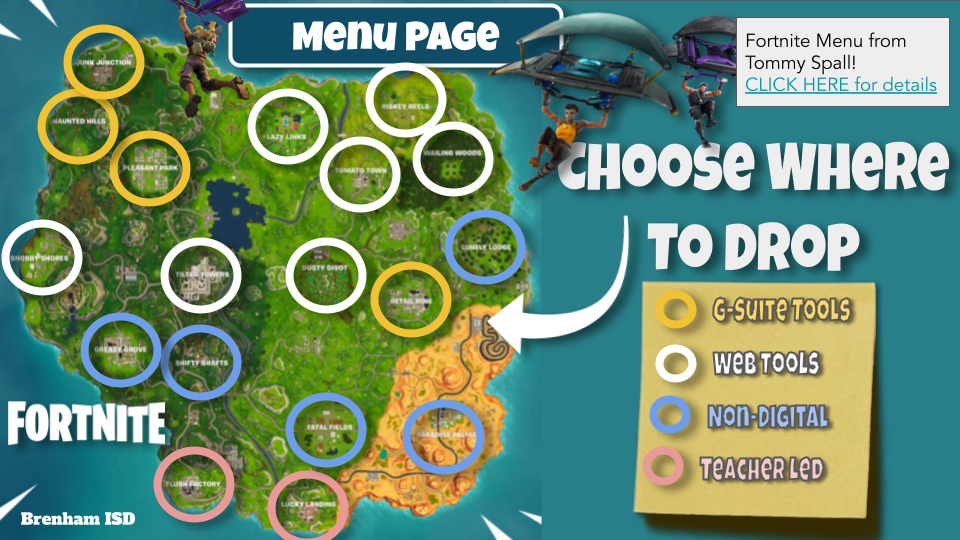
Themed
There are many different types of themes that can make a choice board exciting or engaging. One of my favorites is the Fortnite-themed menu from my friend Tommy Spall.
Grab a copy of Tommy’s Fortnite Menu here.
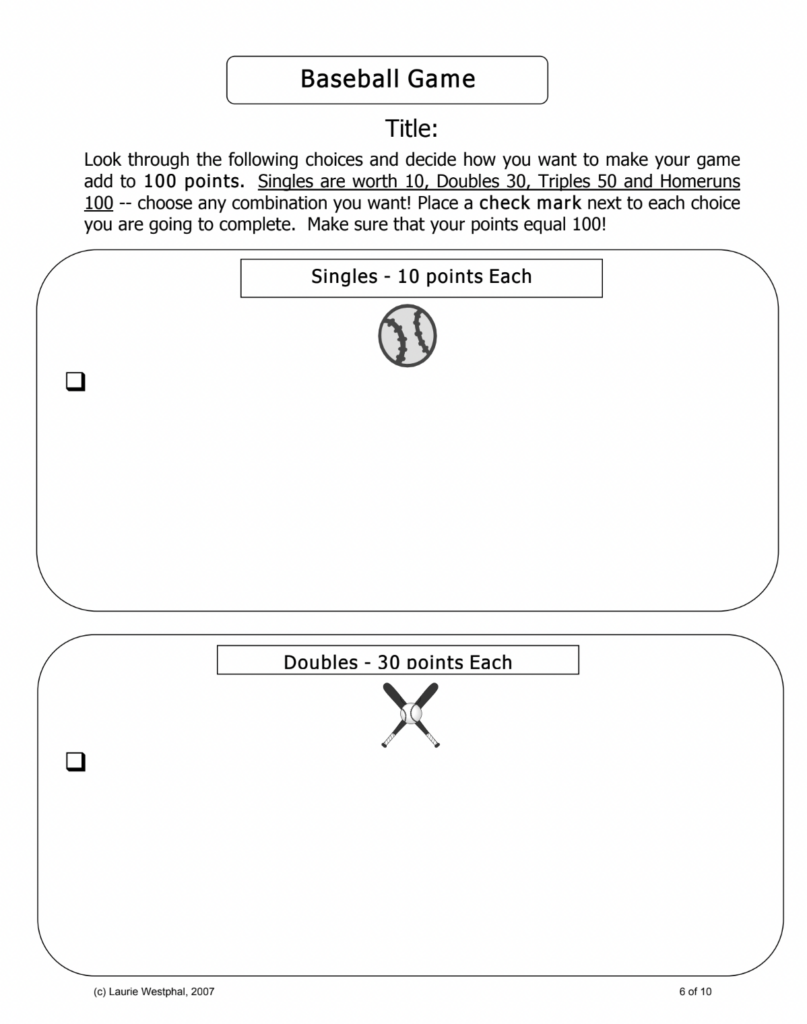
Game-Based Choice Board
I’ve seen a few choice boards that are designed like common games like baseball. Below is an example from Laurie Westphal.

credit: Laurie Westphal
Step 6: Design
Now it’s time to put your design skills to work! Put it all together using a template or design your own from scratch.
Try to balance the amount of time required to complete and the rigor for each student. (This will never be perfect.)
Static Choice Boards
Static choice boards are those that are typically read-only, can be printed, and do not include links or digital interactivity.
Interactive Choice Boards
Interactive choice boards are those that are digital and typically include links. Many, if not all, of the options, will use technology. You can also include ways for students to select their choices digitally on the board, leave comments, and link back to their products and evidence of learning.
Tools to Create
The tools available to create choice boards are pretty much endless. Use your favorites!
- Google Tools: Google Docs, Slides, Drawings, Sheets, Forms, MyMaps, Earth
- Canva for Education (free templates)
- Book Creator
- Buncee
- Lumio
What are your favorite tools to create choice boards? Leave us a comment!
© Shake Up Learning 2023. Unauthorized use and/or duplication of this material without express and written permission from this blog’s author and/or owner is strictly prohibited. Excerpts and links may be used, provided that full and clear credit is given to Kasey Bell and Shake Up Learning with appropriate and specific direction to the original content on ShakeUpLearning.com. See: Copyright Policy.
