 In this blog post and podcast episode, you will learn 13 Tips to Organize Your Google Drive.
Google Drive is the heart of G Suite. Google Drive allows you to store your files securely and access them from any device, as well as create, open, and edit your files.
I have thousands of files stored in my My Drive and struggle with keeping them all organized.
Luckily, Google Drive has an amazing search capability that saves me loads of time.
But did you know that you can do things like color-code your folders, add emojis, hashtags, or add the same file to multiple folders?
There are so many great features of Google Drive that can save you time and help you and your students work more efficiently.
If your Google Drive is a hot mess, I have 13 tips to help you!
This post is available also available as an audio podcast below. Feel free to listen, read, or both!
[ctt template=”1″ link=”0f9LC” via=”yes” ]13 Tips to Organize Your Google Drive[/ctt]

Kasey Bell
36: 13 Tips to Organize Your Google Drive
![]()
![]() .
.![]() ..
..![]()
Shoutout
Kim Christman is a new Level 2 Google Certified Educator! Congrats! Kim is also a graduate of my Level 2 Academy.
Here’s what Kim had to say about the course, “I felt very prepared for some of the items that I don’t often use as a Tech Coordinator of my school – Google Scholar, Google Books, YouTube (since it is blocked at my school). I took my time with the course and then went back and reviewed some of the lessons before taking the test. There wasn’t really anything that I had to do that I wasn’t prepared for after taking this course. Thanks Kasey for putting this awesome course together.”
Learn more about the courses: GetGoogleCertified.com
Do you have a question or idea to share on the podcast? Leave me a message here.

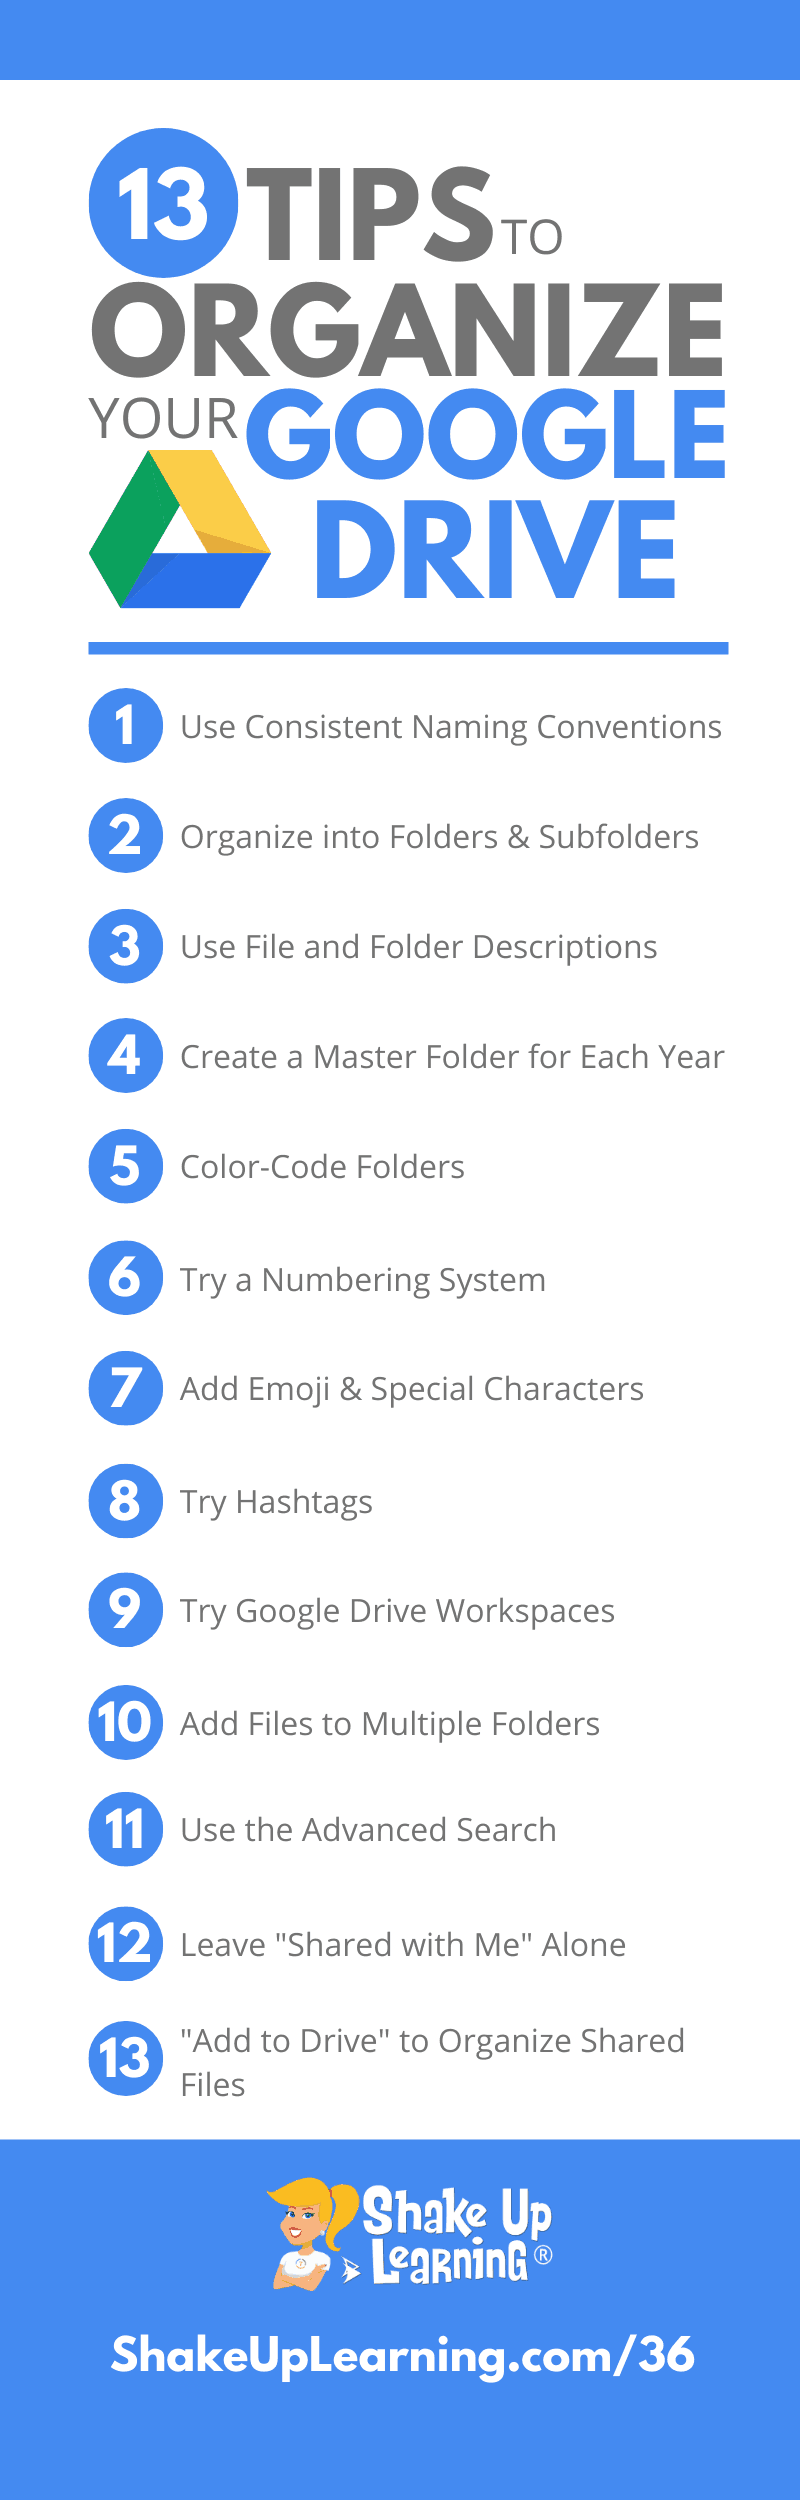
13 Tips to Organize Your Google Drive
Keeping things organized in Google Drive helps save me time and sanity.
Google Drive is where I store EVERYTHING, including not only my Google file types like Docs and Slides, but I also upload and backup other files like my podcasts and images.
Teachers love to organize, so here are 13 Tips to Organize Your Google Drive!
(Please note, these tips refer to the desktop version of Google Drive, but most tips will work similarly on mobile.)
1. Use Consistent Naming Conventions
A naming convention is the way you name your files.
This is an old school recommendation, but still handy. Even though Google Drive will let you name your files however you like, it’s important to be consistent.
Keep file names short but meaningful to you and your students. A consistent naming convention will help clean up our Google Drive.
For instance, when naming lesson plan documents, use the same naming conventions to make life easier.
Example:
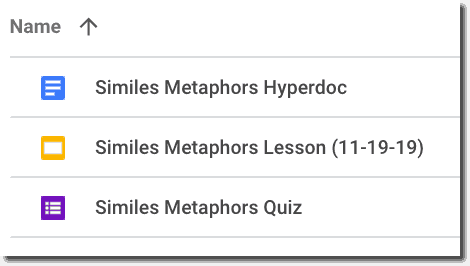
Notice, I didn’t include “and,” not because it is wrong, but to keep it short and simple. Extraneous words are not necessary.
In most cases, there isn’t any reason to include the name of the file type because Google Drive will allow you to see the file icon and filter by file types, like Docs, Slides, etc.
If you need to add a date, include month, day, and year. However, remember Google Drive will allow you to see the last time you opened or edited a file, so adding a date may not be necessary. I added it above as a note to myself of the date I was delivering the lesson.
If you need to abbreviate, I recommend using CAPITAL letters to help you remember.
Google defaults to display your files in alpha order, so this also helps you see things more clearly as opposed to naming them with different versions of the same title.
Of course, keep this in mind when you assign files in Google Classroom since Google Classroom will name each student’s file the same and append their name to the end of the title.
Bottom line, choose the system that works for you and stick with it!
2. Organize into Folders and Subfolders
Once you have determined your naming conventions, you will want to organize things into folders and subfolders.
To see your current folder list, click on the drop-down arrow next to “My Drive.” From here, you can easily click-and-drag files into folders.
If you are organizing as you go, you can also just click on the folder icon from the application to move the file to a folder.

To create a new folder from Google Drive, click on the “New” button, and then select “Folder.”
You will then be prompted to name your folder. Remember to use your consistent naming convention.
Be sure to pay attention to what you have selected BEFORE you create the folder.
If you want it at the top-level (as seen above), select “My Drive,” then create the folder.
If you want to create a subfolder (a folder within a folder), select the parent folder first. This will save you time clicking-and-dragging things around.
3. Use File and Folder Descriptions
Did you know that Google Drive allows you to add even more information to your files and folders?
You can view the details and activity related to a file or folder by first selecting the file/folder, then click on the “View Details” icon near the top-right.
Here you add additional information, a more detailed description, a note to yourself, or whatever you need. This also makes your file more searchable.
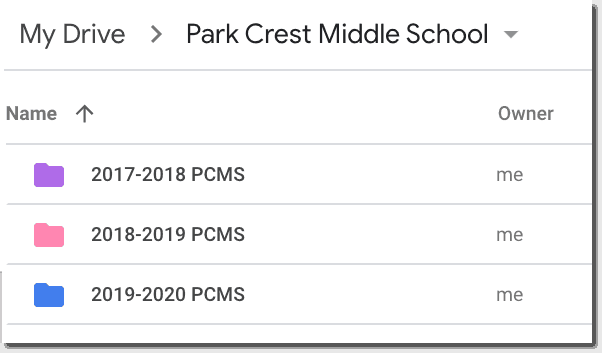
4. Create a Master Folder for Each School Year
Many teachers like to create master folders for each school year. As most teachers are on a school year cycle, this helps you organize each year’s files and folders.
You can then add subfolders for other topics, lessons, etc.
5. Color-Code Your Folders
Adding color to your folders can help you visually recognize files faster and give you additional ways to organize your Google Drive.
As you can see in the screenshot above and below, the folders are colored. Not only is this more visually appealing than plain old grey, but you can assign meaning to specific colors.
To change the color of the folder from Drive.
- Right-click (or control-click) on the folder
- Go to “Change Color”
- Select the color from the palette
You may really love color coding and color all of your folders, or you may be more like me and just add color to your most important folders, so they stand out.
Again, choose the style and method that works for you.
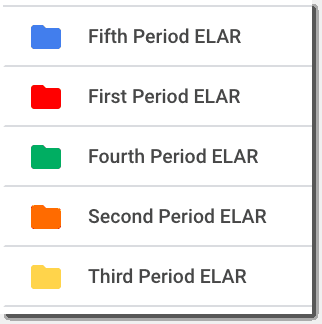
6. Try a Numbering System
Numbering my files and folders has helped me keep my most important folders at the top of My Drive, no matter what they are named.
Now compare this screenshot to the one above where I only used words. By adding the number, I can now see my classes in order (and the rainbow pattern I assigned ;)).

I also used numbers to help me get my most important folders at the top of My Drive so I can get there is just one click.
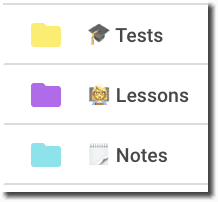
7. Add Emoji and Special Characters
Adding emojis ? and special characters ✿ can add a little extra fun to your files and folders, and your students will love this too!
Emojis can give you and your students a visual cue, and help emerging and struggling readers and well as English Language Learners process the information.
There are lots of ways to find and copy emojis into your file and folder titles. One of my favorite resources for this is Emojipedia, where I can search and copy emojis quickly on the desktop. There are also many Chrome extensions and other places you can find emojis.
Another great resource that I learned about from Jen Giffen is copypastecharacter.com, where you can find symbols, emoji, and other special characters to spice up your organization. (Highlight the character you want, and copy and paste where you want it to go.)
Tip: You can use this idea in Google Classroom as well! Try adding emoji to your assignment titles and directions ?.
8. Try Hashtags
Another way to help organize your files and folders is to use hashtags as we use on social media. These could be words or numbers, like #msbell or #001.
This strategy could be overkill if you use it for everything, but it could be a way to personalize your files. I have used hashtags for event files that have hashtags, like #edcamp.
You may find this handy for numbering your assignments. Adding the # symbol helps group the numbers in a unique way, so when you search, you don’t get EVERYTHING that has the number one in it, just #001. This is a strategy I recommend for naming assignments in Google Classroom, which in turn, will name your related Google files and folders.
See also: 6 Tips for Getting Started with Google Classroom.
9. Try Google Drive Workspaces
Take advantage of the new Google Drive Priority Page and custom Workspaces to better organize your Google Drive as your work.
Look for “Priority” to appear above “My Drive.”
You can make the Priority page your default home by going to your Google Drive settings.
Priority is using machine learning to try to predict what files you will need next and making those available at the top of the page.
Below Priority, you will also see Workspaces. Workspaces allows you to create a collection of files in one location.
Use workspaces to organize files without moving them.
“The Priority page also organizes files into workspaces. These let you gather a private set of working files for ongoing easy access. Adding files to a workspace doesn’t affect their storage location or permissions—it just aggregates files to help you find them faster. Our studies show most users only work with around 10–20 files at any given time. Workspaces help make sure you can get to those files more efficiently. To build your workspace, you can use Drive’s intelligent file suggestions or add files manually.” (G Suite Updates Blog)
In Workspaces, you’ll be able to see intelligent suggestions of related content to group together for easier access— like multiple files related to the same project. You can also create your own personalized Workspaces collecting any files you have access to, including content stored in your My Drive and various Team Drives.
Create a new workspace from the Priority page.
Alternatively, you can right-click on any file and select “Add to Workspace” to dynamically group files as you work.
10. Add Files to Multiple Folders
When organizing your Google Drive into folders, it can be difficult to decide exactly where to save certain files. For instance, would the draft of this blog post go in my “Blog” folder or my “Google Tips” folder?
Digital file folders typically imitate the old, paper-based way of doing things. With folders in Google Drive, you can do more!
You can add files to multiple folders without having to make copies. This allows folders to act more like tags or categories, which is much more useful.
To add a file to multiple folders from Google Drive,
- Single-click the file in Google Drive
- Then use the keyboard shortcut, “Shift + Z.”
- A pop-up will open and allow you to “add that file to another folder.
11. Use the Advanced Search to Find Anything in Your Google Drive
Even when you aren’t the most organized Google Drive use, you can rely on the search capabilities to find anything!
You can do a simple search, or click the drop-down arrow from the search box for more advanced search options. You can filter by file type, owner, keywords, dates, and more!

To learn how to make the most of thes features, see this post: 8 Ways to Find Anything in Your Google Drive.
12. Leave “Shared with Me” Alone
The “Shared with Me” section of Google Drive is just an aggregation of files that have been shared with you in some way.
Many users want to clean up this section, but I advise teachers to just leave “Shared with Me” alone. These are not your files. Think of it like a feed showing you what files you have access to that are not your own.
If you begin deleting files, it can often cause problems for you or other users, so the best advice is just to accept it for what it is.
However, there is a way to add these files to your own folders. (See the tip below.)
13. Use “Add to Drive” to Organize Shared Files and Folders
Even though “Shared with Me” may not be pretty and organized as you like, there is a way to add these files to your own drive and organize files into your own folders.
When you have the shared file open, you will see a Drive icon near the top left.
Once you click that icon, the file will be added to your Google Drive, and you can organize it into a folder. (Note: This is not making a copy. It is just giving you access to the file in your Drive.)
You can also add the files from the “Shared with Me” section of Google Drive by right-clicking on the file and choosing “Add to Drive.” Or select the file and click on the “Add to Drive” icon from the menu.
I hope these tips help you keep your Google Drive more organized, and be sure to share these tips with your students! Do you have a tip to share? Leave a comment or voicemail with your favorite Google Drive tips!
Podcast Question of the Week
How can creative organization skills help you and your students in the classroom?
Post your answer to your favorite social media platform using the hashtag #ShakeUpLearning, or share it in the Shake Up Learning Community on Facebook!
© Shake Up Learning 2025. Unauthorized use and/or duplication of this material without express and written permission from this blog’s author and/or owner is strictly prohibited. Excerpts and links may be used, provided that full and clear credit is given to Kasey Bell and Shake Up Learning with appropriate and specific direction to the original content on ShakeUpLearning.com. See: Copyright Policy.